Mainly inspection standard of ball mill
2017-02-24
Mainly inspection standard of ball mill
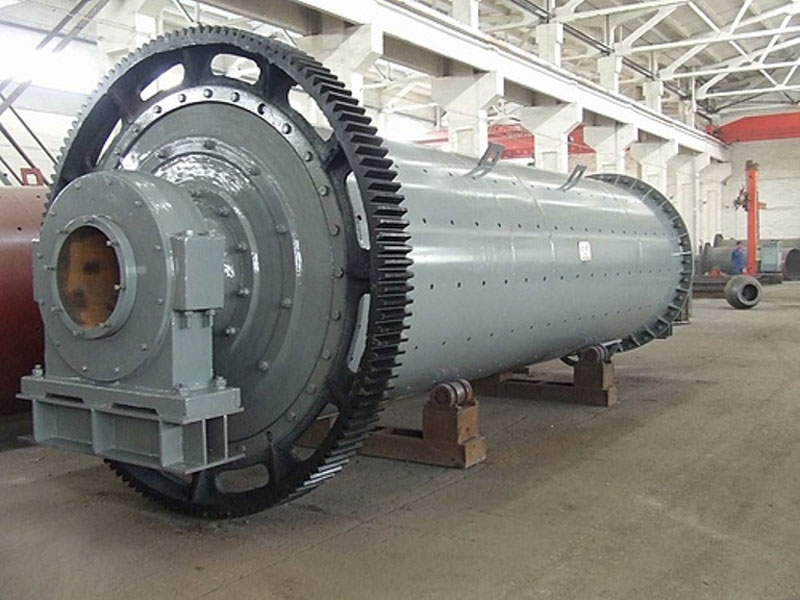
Ball mill is the material after broken to smash the key equipment again, ball mill is widely used in various industries, such as glass, ceramic industry, cement, mineral grinding, non-ferrous metal processing, etc.Ball mill is suitable for all kinds of ores and other materials, according to the ball mill grinding way into can be divided into dry and wet;According to the row of ore in different ways, can be divided into grid type and overflow type two kinds;According to the shape of cylinder can be divided into a short tube ball mill, their ball mill, tube mill, and four conical grinding machine.Ball mill is widely used in industrial production of one of the high fine grinding machine, the type are many, such as tube ball mill, cement ball mill, super fine laminating grinding machine, hand ball mill and horizontal ball mill, energy-saving ball mill, the overflow type ball mill, ceramic ball mill, grid ball mill, etc.
1, two bearing base processing surface on the same horizontal plane, center distance tolerance of 1 mm, longitudinal centerline deviation 0.5 mm, not parallel axis deviation 0.5 mm per meter.
2, tile spherical uniform can contact Angle;Within every 50 x 50 was not less than 1-2 PM;Hollow shaft and tile interface should be 90 °, 100 ° per square inch of not less than 2 points, journal and bearing clearance approximately the same on both sides.
3, cylinder flange fitting surface shall ensure good contact with the front end cover, are not allowed to add gasket, two hollow shaft alignment tolerance is less than 0.8 mm.Big gear ring and cylinder end cover assembly correction, connectors should be strong thrust, superior dowel, ring gear radial swing is not greater than 0.5 mm, axial runout no greater than 0.84 mm.
4, lining board installation should be installed end cover, cylinder liner should start with population, installation requirements, each want even the screw tight, shall not leak.Rubber lining board must not have aperture, have gaps to chocked up with sponge.
5, the center line of the pinion and the gear of the centerline to parallel, the deviation is not more than 0.2 mm per meter.Tip clearance 1/4 modulus, backlash 1.06-1.8 mm, tooth surface contact area of not less than 50% of the tooth, tooth depth of 40%.
6, reducer, motor and drive shaft coupling should be keep high coaxality, the center line of the coaxial degree greater than 0.3 mm, the center line of the slope is less than 1/1000.


 (Live chat)